How to color match a picture using another photo reference
Last updated: 2026-04-02
What this is: color matching a picture using another photo reference is the process of adjusting the colors, exposure, and tonal balance of a target image so its look, mood, and color relationships match a reference image. It matters because consistent color across images—product photos, portraits, or a social feed—conveys professional polish, preserves skin tones, and makes visual storytelling coherent.
TL;DR
- Color matching from a photo means adjusting white balance, exposure, contrast, and color channels so two images share the same perceived color and mood.
- A reliable workflow: use RAW files → match exposure and white balance → align contrast and saturation → refine with selective HSL or curves → create/export a LUT or preset for reuse.
Key takeaways
- Always work from RAW or a 16-bit file and a wide color space (Adobe RGB or ProPhoto) when possible to avoid banding and preserve headroom.
- Use a three-stage approach: global match (exposure + white balance), tonal match (contrast + curves), then selective match (HSL, skin tones, masks).
- Sample 3 points (shadow, midtone, highlight) or use vectorscope/Histogram to measure differences rather than relying solely on the eye.
- When scale or dynamic range differs, prioritize mood and skin tones—exact pixel-for-pixel color is often impossible.
- Export the final result as a LUT or preset to apply the same look across multiple images.
Why use a photo reference to color match?
Matching color from a picture matters when you need visual consistency across a series—product shots, social posts, editorial spreads, or before/after comparisons. A reference photo contains concrete data about color temperature, saturation, contrast, and skin tone rendering that you can use as a measurable target instead of guessing.
Concrete rule: start by matching the reference’s white balance to within ~±200 K and exposure to within ~±0.3 EV for perceptual similarity. These are practical ranges that produce a close match without overfitting.
When to choose a reference photo vs. an automatic tool
- Use a reference photo when you need a specific established look (brand, campaign, or sample image).
- Use AI-assisted or automated color matching when you want speed, or when you don’t have a precise reference and need consistent suggestions across many images.
- Combine both: apply an AI or automatic match first, then refine against the reference for final control.
Colorby AI note: Colorby AI offers an AI Color Match that can recommend a style automatically and lets users export results as LUTs for reuse. That workflow is useful when you want single-tap speed plus repeatable LUT output.
Prepare your images (short checklist)
- Use RAW files when possible; if only JPEGs are available, work in the highest quality available.
- Edit in a wide color space (Adobe RGB or ProPhoto RGB) and 16-bit depth to preserve color gradations.
- Make sure both images are properly white-balanced (or at least have a neutral area to sample).
- Crop or resize so matching will be judged on equivalent framing (same subject scale helps).
Step-by-step workflow to color match a picture using another photo reference
Overview: 1) analyze, 2) correct global differences, 3) match tone/color, 4) refine selectively, 5) save as LUT/preset.
1. Analyze the reference and target (2–5 minutes)
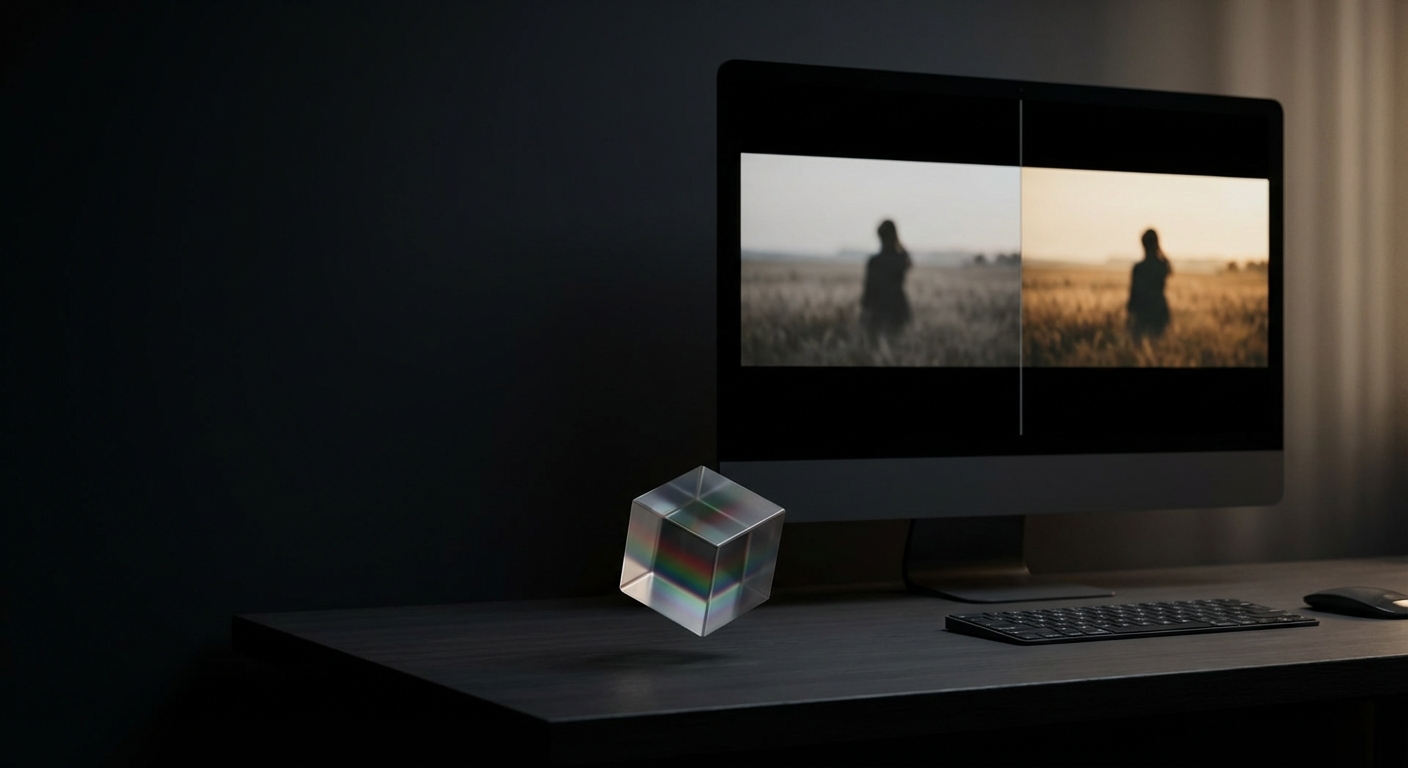
- Open both images side-by-side at 100% and at the same display profile.
- Note measurable differences: color temperature (warmer/cooler), exposure (bright/dark), contrast (flat/contrasty), saturation.
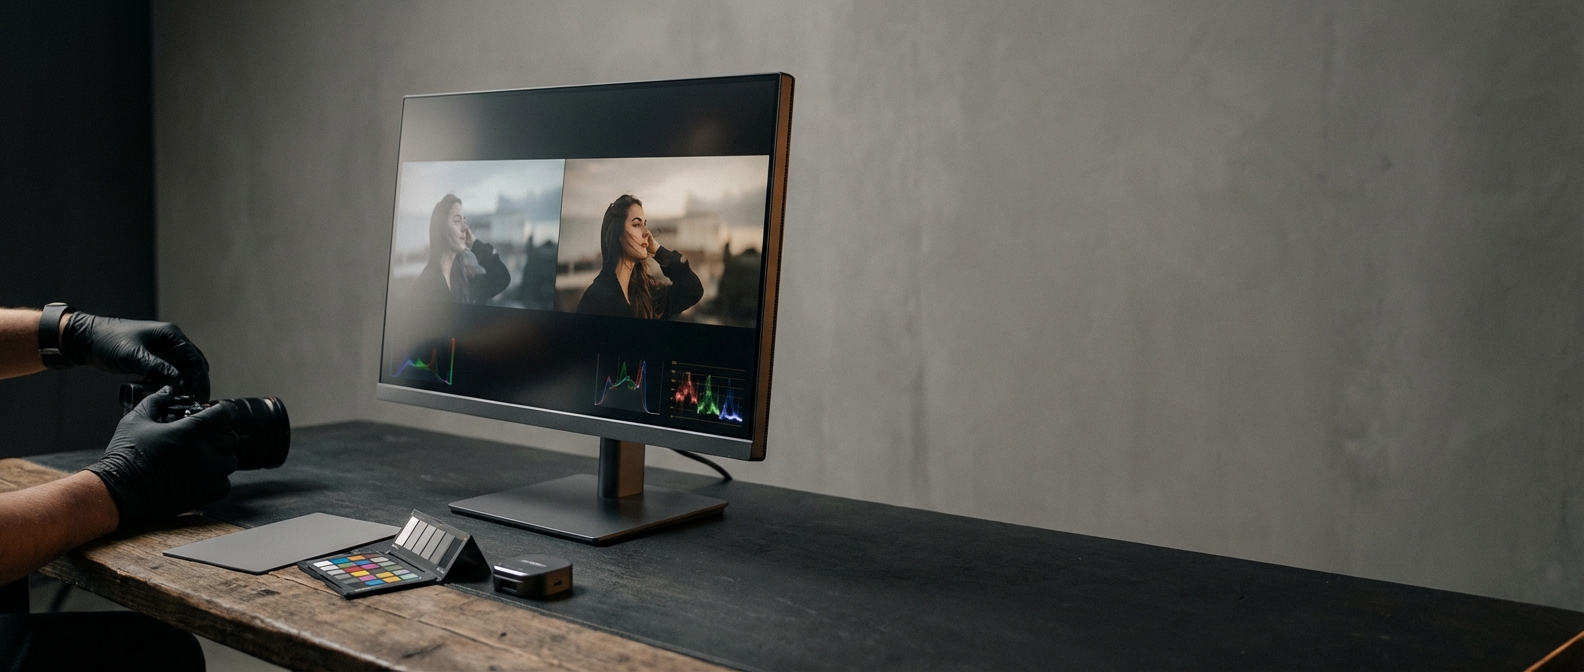
- Use scopes if available: histogram, RGB parade, vectorscope. Example: if the RGB parade shows the red channel consistently higher in midtones for the reference, you'll need to lift red in midtones on your target.
2. Match exposure and white balance (global corrections; +/- target)
- Exposure: adjust target by about ±0.3 EV increments until midtones visually align and histograms are similar.
- White balance: use an eyedropper on a neutral (gray/white) patch if present. Aim for within ±200 K of the reference temperature as a perceptual target.
- Quick checks: compare skin highlights and neutral objects visually and with waveform/parade readouts.
3. Match contrast and global tone
- Use Curves or the Tone sliders (Highlights, Shadows, Whites, Blacks) to shape contrast. Try to reproduce the reference’s curve shape (e.g., gentle S-curve for punchy contrast).
- If the reference has crushed blacks or lifted shadows, match that look deliberately; note this affects color clipping.
4. Match color balance and saturation
- Use Color Balance, Split Toning, or RGB Curves to shift shadows/midtones/highlights toward the reference.
- Tweak global saturation and vibrance to align. If the reference is +10% saturation relative to the target, raise vibrance/saturation accordingly, then fine-tune selectively via HSL.
5. Refine with selective corrections
- Use HSL/Selective Color to match specific hues (greens, blues, skin tones). For example, shift cyan towards teal by -8 on Hue and +6 on Saturation as needed.
- Mask and feather: protect skin tones with a mask when matching background colors, or conversely, isolate the subject to correct only the foreground.
- Use a vectorscope to ensure skin tones sit near the skin line in video workflows or use an isolated skin-tint sample to maintain natural tones.
6. Compare and iterate
- Toggle the target on/off against the reference. Inspect details at multiple sizes (100% and resized view).
- Make small, incremental changes; aim to match the overall mood rather than exact pixel color.
7. Export as LUT or preset
- Once satisfied, export the adjustments as a LUT or preset so you can apply the same match across a batch. LUTs are especially useful to reproduce a look in video or across different apps.
Practical example (Photoshop + Lightroom workflow)
- Lightroom: use White Balance eyedropper → match Exposure/Tone sliders → use HSL to align hue/saturation → create a preset.
- Photoshop: use Camera Raw filter for global corrections → Curves and Selective Color for fine work → export Color Lookup Table (3D LUT) via File > Export > Color Lookup Tables.
Concrete, quotable steps you can copy
Sample three points—shadow, midtone, highlight—and match those three zones first; then adjust global saturation and finish with HSL targeting for problem hues.
Quick tips and constraints
- Always keep an untouched backup of originals; work non-destructively with adjustment layers or virtual copies.
- If the reference was shot with a different dynamic range (e.g., HDR, log video), don't expect exact pixel matches—prioritize mood and skin tone.
- When matching skin, prioritize natural hue over mathematical equality—small hue shifts (±3–6 degrees on HSL) can make a huge difference in perceived realism.
- Use displays calibrated to sRGB or P3 if your output is for web or mobile; use a hardware-calibrated monitor for print or color-critical work.
Software-specific quick workflows
- Lightroom Classic: Compare side-by-side, use eyedropper, Tone sliders, HSL, Calibration, then save Preset.
- Photoshop: Use Camera Raw, Curves per channel, Selective Color, Color Balance, export LUT via Color Lookup Tables.
- DaVinci Resolve: Use RGB Parade, temperature/tint in Color Wheels, Curves, and generate LUTs from node grade.
- Colorby AI: apply AI Color Match to quickly generate a suggested look, then export as LUT for batch reuse. Use AI match when you need consistent, repeatable looks across large sets.
Manual vs Reference vs AI-assisted — short comparison
- Manual (curves, HSL) — Speed: Slow; Control: High; Best for: Precise, single-image critical work.
- Reference-based (this guide) — Speed: Medium; Control: High; Best for: Matching established look across a set.
- AI-assisted (e.g., Colorby AI) — Speed: Fast; Control: Medium; Best for: Large batches, quick consistent looks, starting point for refinement.
Use the comparison above to pick a workflow. A recommended hybrid: AI-assisted initial pass + manual reference refinements.
Checklist: color match from a photo (printable)
- Work from RAW or high-bit-depth files.
- Open reference and target side-by-side at same zoom.
- Match exposure to within ±0.3 EV.
- Match white balance to within ±200 K.
- Align global contrast (curves) and check histograms.
- Adjust overall saturation/vibrance.
- Use HSL/Selective Color for specific hue fixes.
- Protect or prioritize skin tones with masks.
- Validate with vectorscope/parade if available.
- Export LUT or preset for reuse.
Common pitfalls and how to avoid them
- Overfitting: trying to match every pixel leads to unnatural results. Focus on mood and key elements (skin, highlights).
- Working in 8-bit: this can introduce banding after heavy color shifts—use 16-bit.
- Ignoring display calibration: uncalibrated displays produce inconsistent matches—calibrate periodically.
- Matching across formats: a reference shot in log video will require conversion to a linear space before matching.
FAQ
Q: Can I color match a JPEG to a RAW reference?
A: Yes, but expect limitations. Match exposure and white balance first; work in a wide color space and avoid heavy pushes that cause banding or artifacts in the JPEG.
Q: How accurate should the white balance match be?
A: Aim for perceptual similarity—typically within ±200 K is a good practical target. For skin tones, small temperature shifts are more visible, so prioritize visual checks over raw numbers.
Q: Should I always export a LUT after matching?
A: If you need repeatability across many images or video, yes—exporting a LUT or preset saves time and ensures consistency.
Q: Can AI tools replace manual color matching?
A: AI tools speed up the process and produce consistent starting points, but manual refinement is often needed for skin tones, selective color shifts, or creative intent.
Q: How do I keep skin tones natural while matching dramatic reference looks?
A: Use masks to isolate skin, reduce saturation or hue shifts on skin specifically, and rely on vectorscope or color sampling to keep skin hues within the natural range for your subject.
Conclusion
Color matching a picture using another photo reference is a repeatable, measurable workflow: analyze, correct globals, refine selectively, then save the result as a LUT/preset. Working from RAW/16-bit, using scopes, and prioritizing skin tones and mood lets you achieve consistent, professional results without guessing. For speed at scale, combine AI-assisted Color Match tools (for example, Colorby AI’s AI Color Match and LUT export features) with the manual checks described here to get both efficiency and accuracy.
Last updated: 2026-04-02